So after a few trips away, and not being able to lock things in the back, and having committed to a light bar on my roof racks (which means I can’t carry my snow board 😒), I finally caved to installing a hard lid.
I mean, I always wanted one, I just didn’t want to pay Ute Master prices.
So, I designed and built my own hard lid.
I dub thee ‘Truck Norris’
Yep, that’s right! I named my GWM Cannon truck! 🤣
Truck Norris
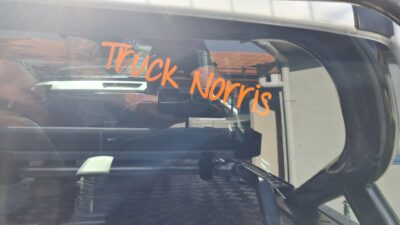
And that’s all I have to say about that 😂
The Hard Lid Design
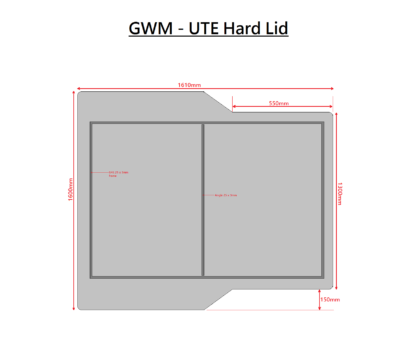
Like many projects, this started with a pencil, then some Adobe© Illustrator©, then some backwards and forwards with a friends who knows more than me.
This time that friend was Bipin.
Bipin is a welder/fabricator guy at Ullrich Aluminium
So, we start with a basic design:
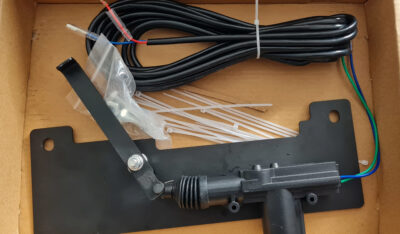
And some shopping (Thanks AliExpress)
And .. my new favourite shop !!!
Co-Mac
This store is amazing ! They have everything you could possibly imagine for fabrication.
In my case, recessed tie downs, slam door latches, pop-up handles, gas struts .. etc etc etc.
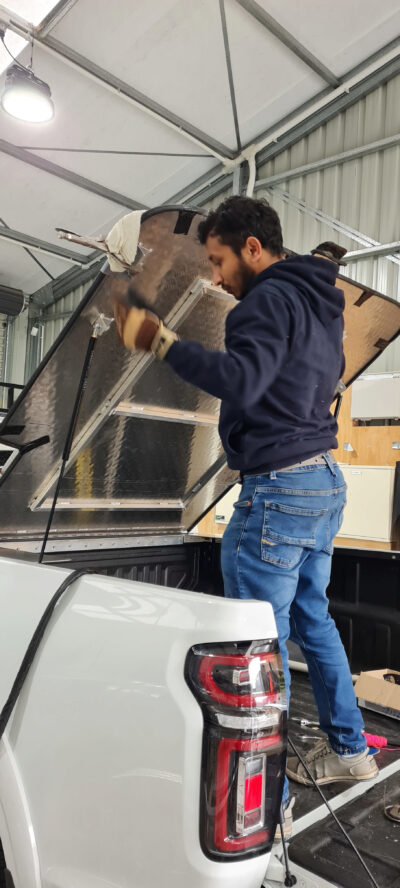
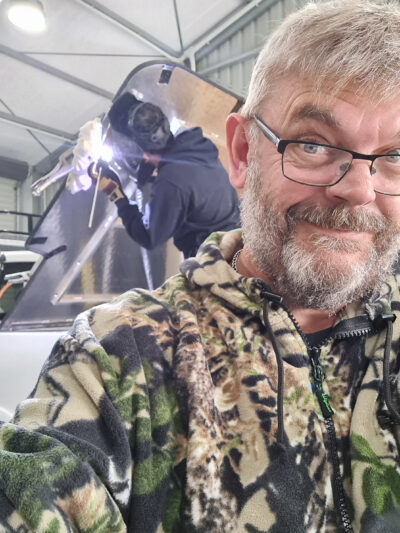
Then Bipin and I start work!
The Wiring
So, the wiring was a lot easier than I initially thought.
Thanks to Savage Tech Australia, who also sells a central locking unit, I knew what wires I had to tap into. Reg/Green, and Green.
Note: Use the thin Red/Green wire, not the thick Red/Green wire !
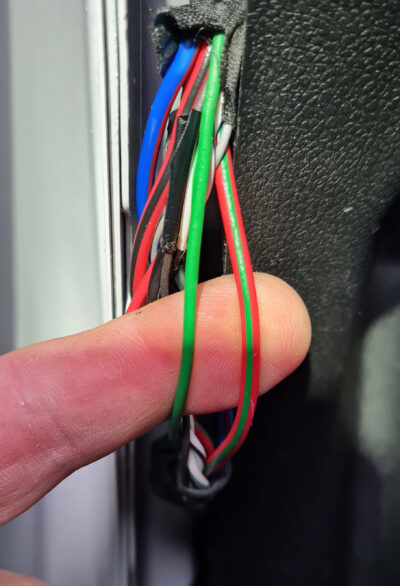
If you check my light bar post, I used the same rubber gromet to get the power from the central locking in to the left rear door.
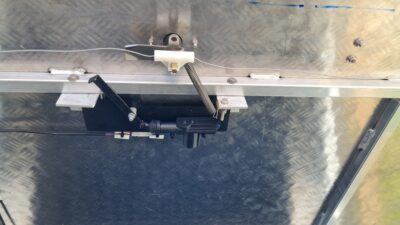
And here is the central locking unit installed:
Conclusion
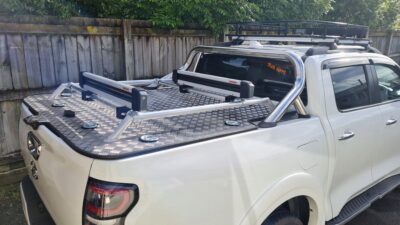
And, here is the finished product:
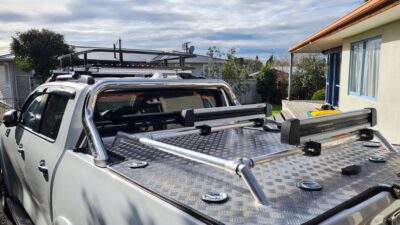
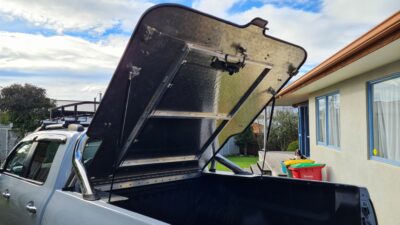
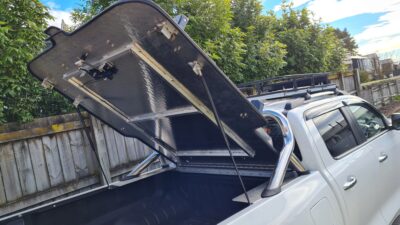
And here’s a few videos:
Opening the Hard Lid.
The Central Locking on the Hard Lid.
The Central Locking Internals.
I’ve since replaced the rubber bands with an extension spring (see the pic above).
Final words
If you want to discuss this, leave a comment, or hit me up via email/private message or whatever.
I’ve kept the receipts for everything 😆🤓 so I can help you out if you want to bu8i9ld your own.
4 Comments